
- All
- Product Name
- Product Keyword
- Product Model
- Product Summary
- Product Description
- Multi Field Search
Views: 0 Author: Site Editor Publish Time: 2026-04-17 Origin: Site


Laser marking is revolutionizing the clear aligner industry. But how exactly does it work?
In this article, we’ll guide you through the step-by-step process of using a Laser Marking System for Clear Aligners. You’ll learn how this technology improves precision, efficiency, and customization in clear aligner production.
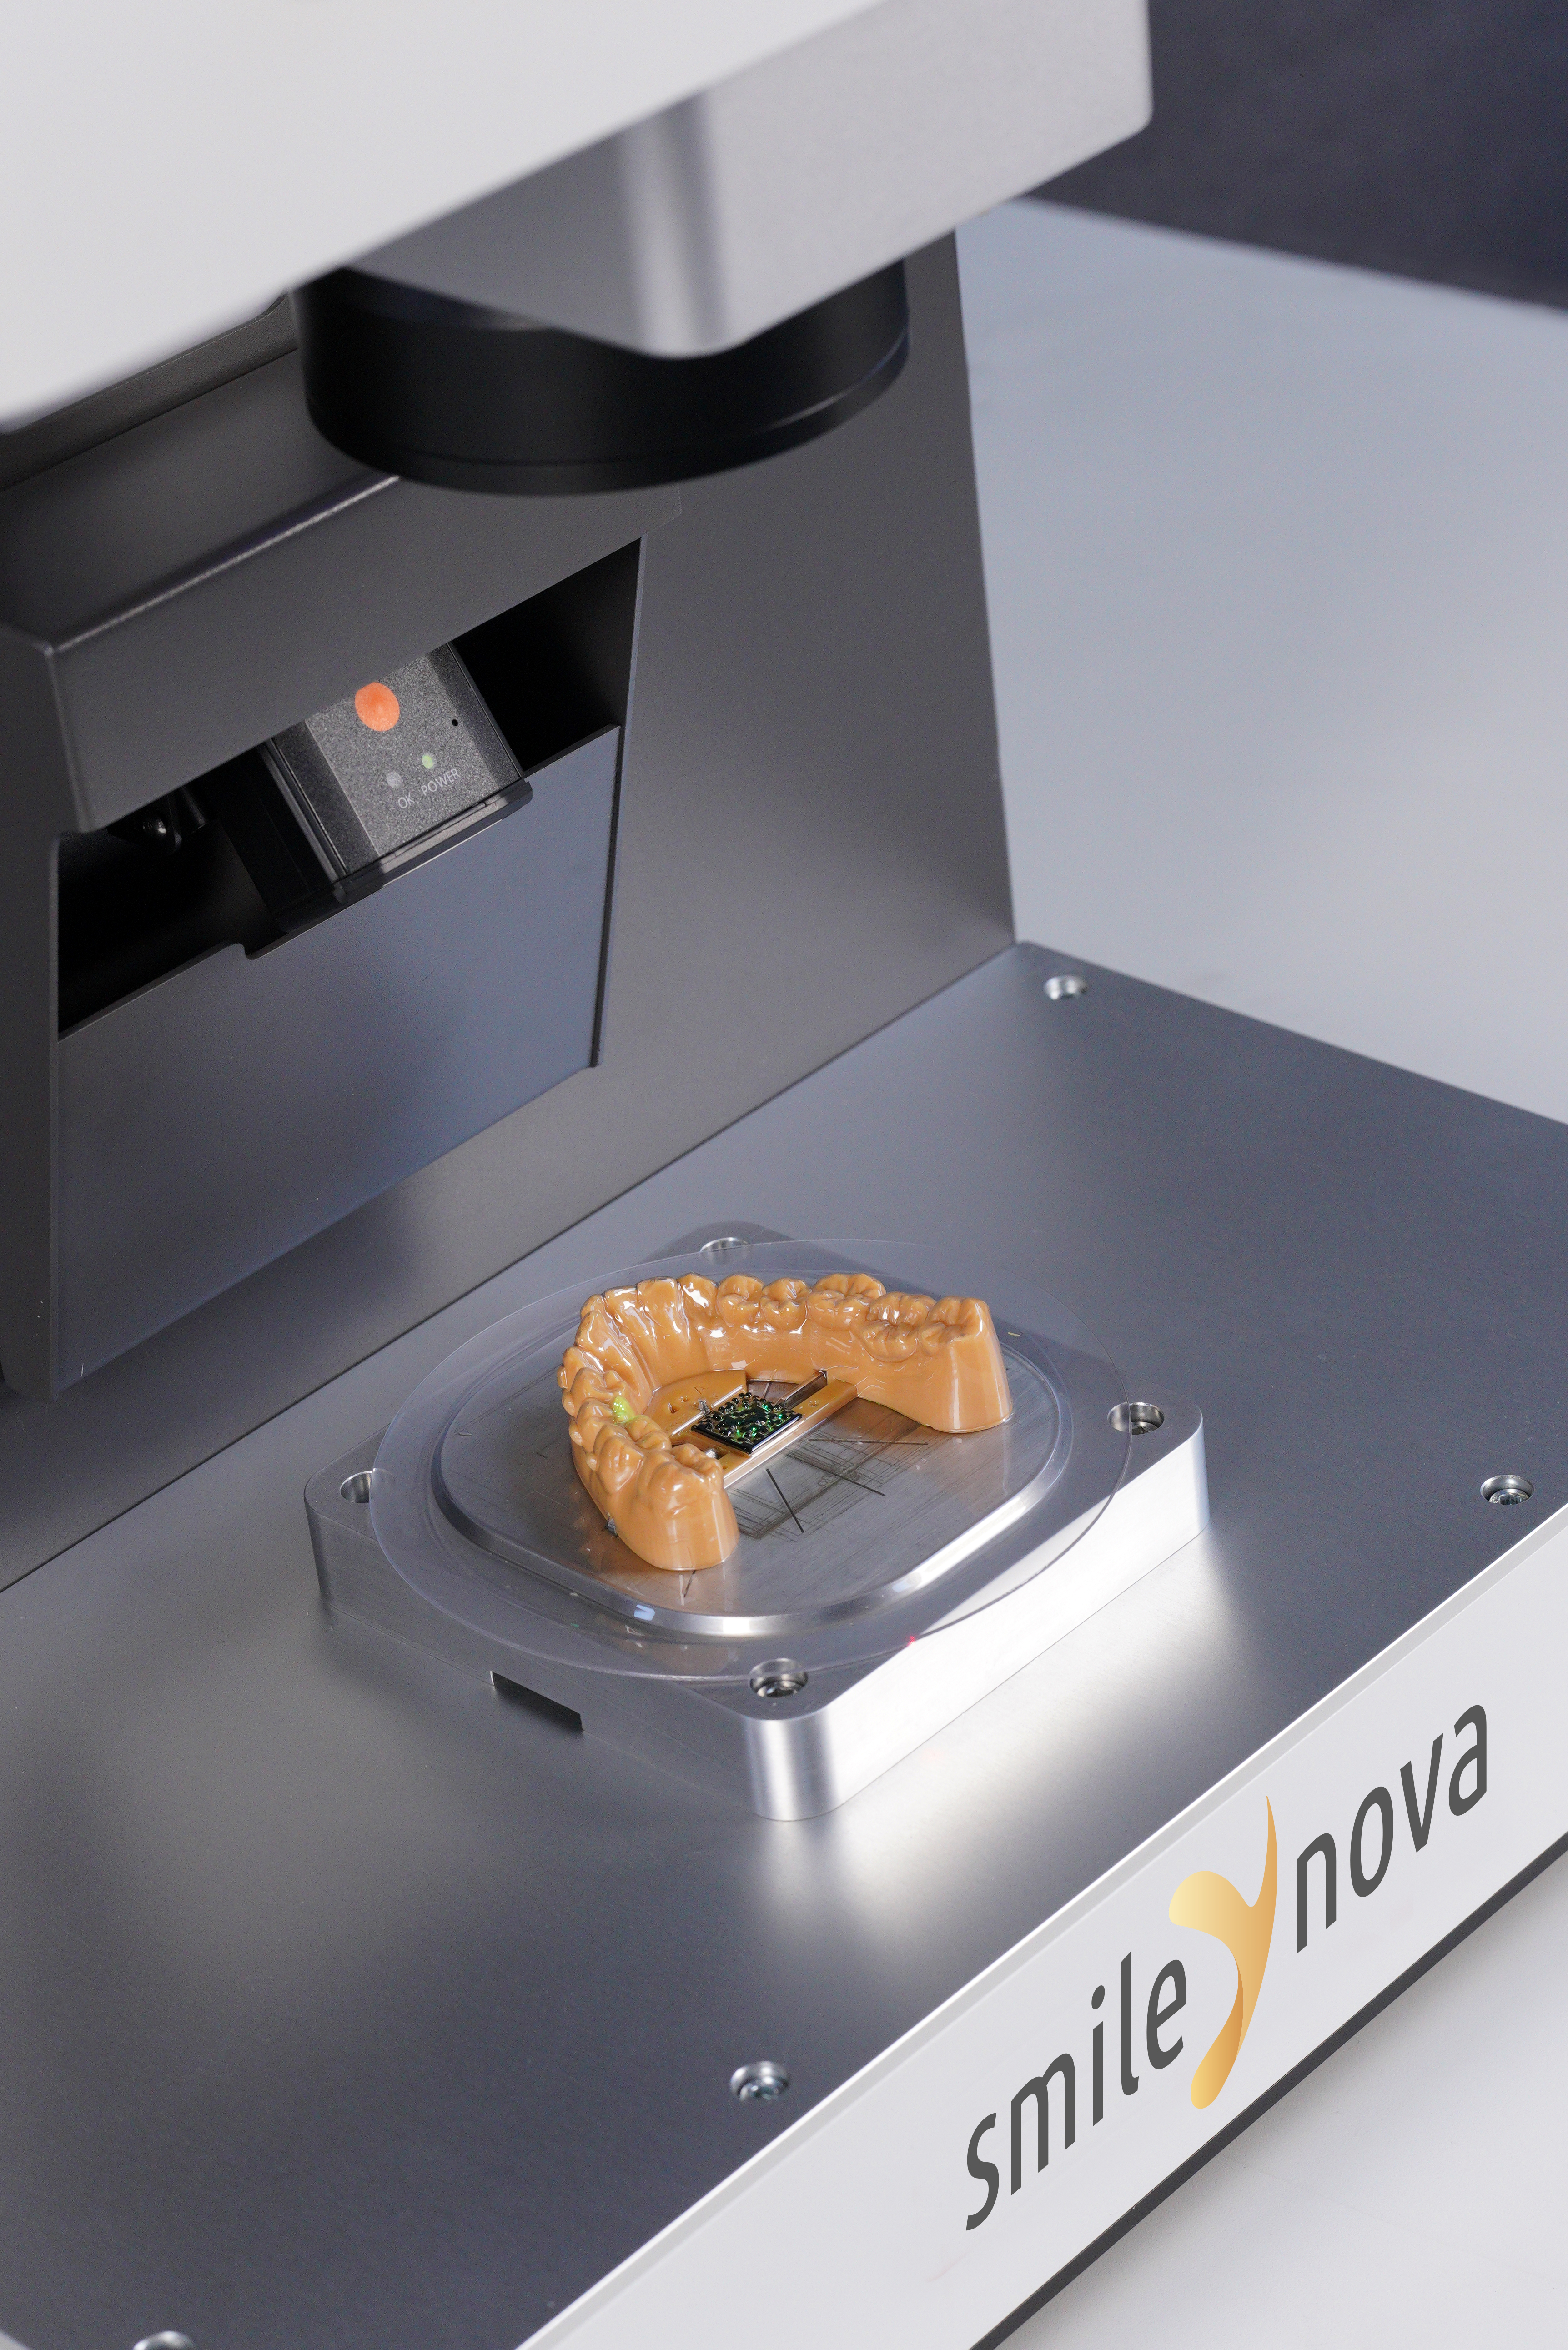
The Laser Marking System for Clear Aligners is a high-tech solution for engraving precise markings onto aligners. Using a fiber laser, it offers speed and accuracy, making it ideal for the clear aligner production process. This method ensures durable, high-contrast marks without the need for consumables, offering both environmental and cost benefits.
A Laser Marking System for Clear Aligners is an advanced piece of equipment designed to engrave customized markings onto clear aligners. Using a fiber laser, the system can mark various materials, including plastic and composites, with high precision and durability. The technology involves using a focused laser beam to remove material from the surface, leaving behind permanent, high-contrast marks. These systems are highly automated, ensuring faster production and reducing manual errors.
Laser marking is ideal for clear aligners due to its precision and speed. Unlike traditional methods like inkjet printing, laser marking does not rely on consumables like ink, making it more environmentally friendly and cost-effective in the long run. Additionally, the high precision ensures that markings are clear and readable, which is vital for compliance and traceability in the orthodontic field.
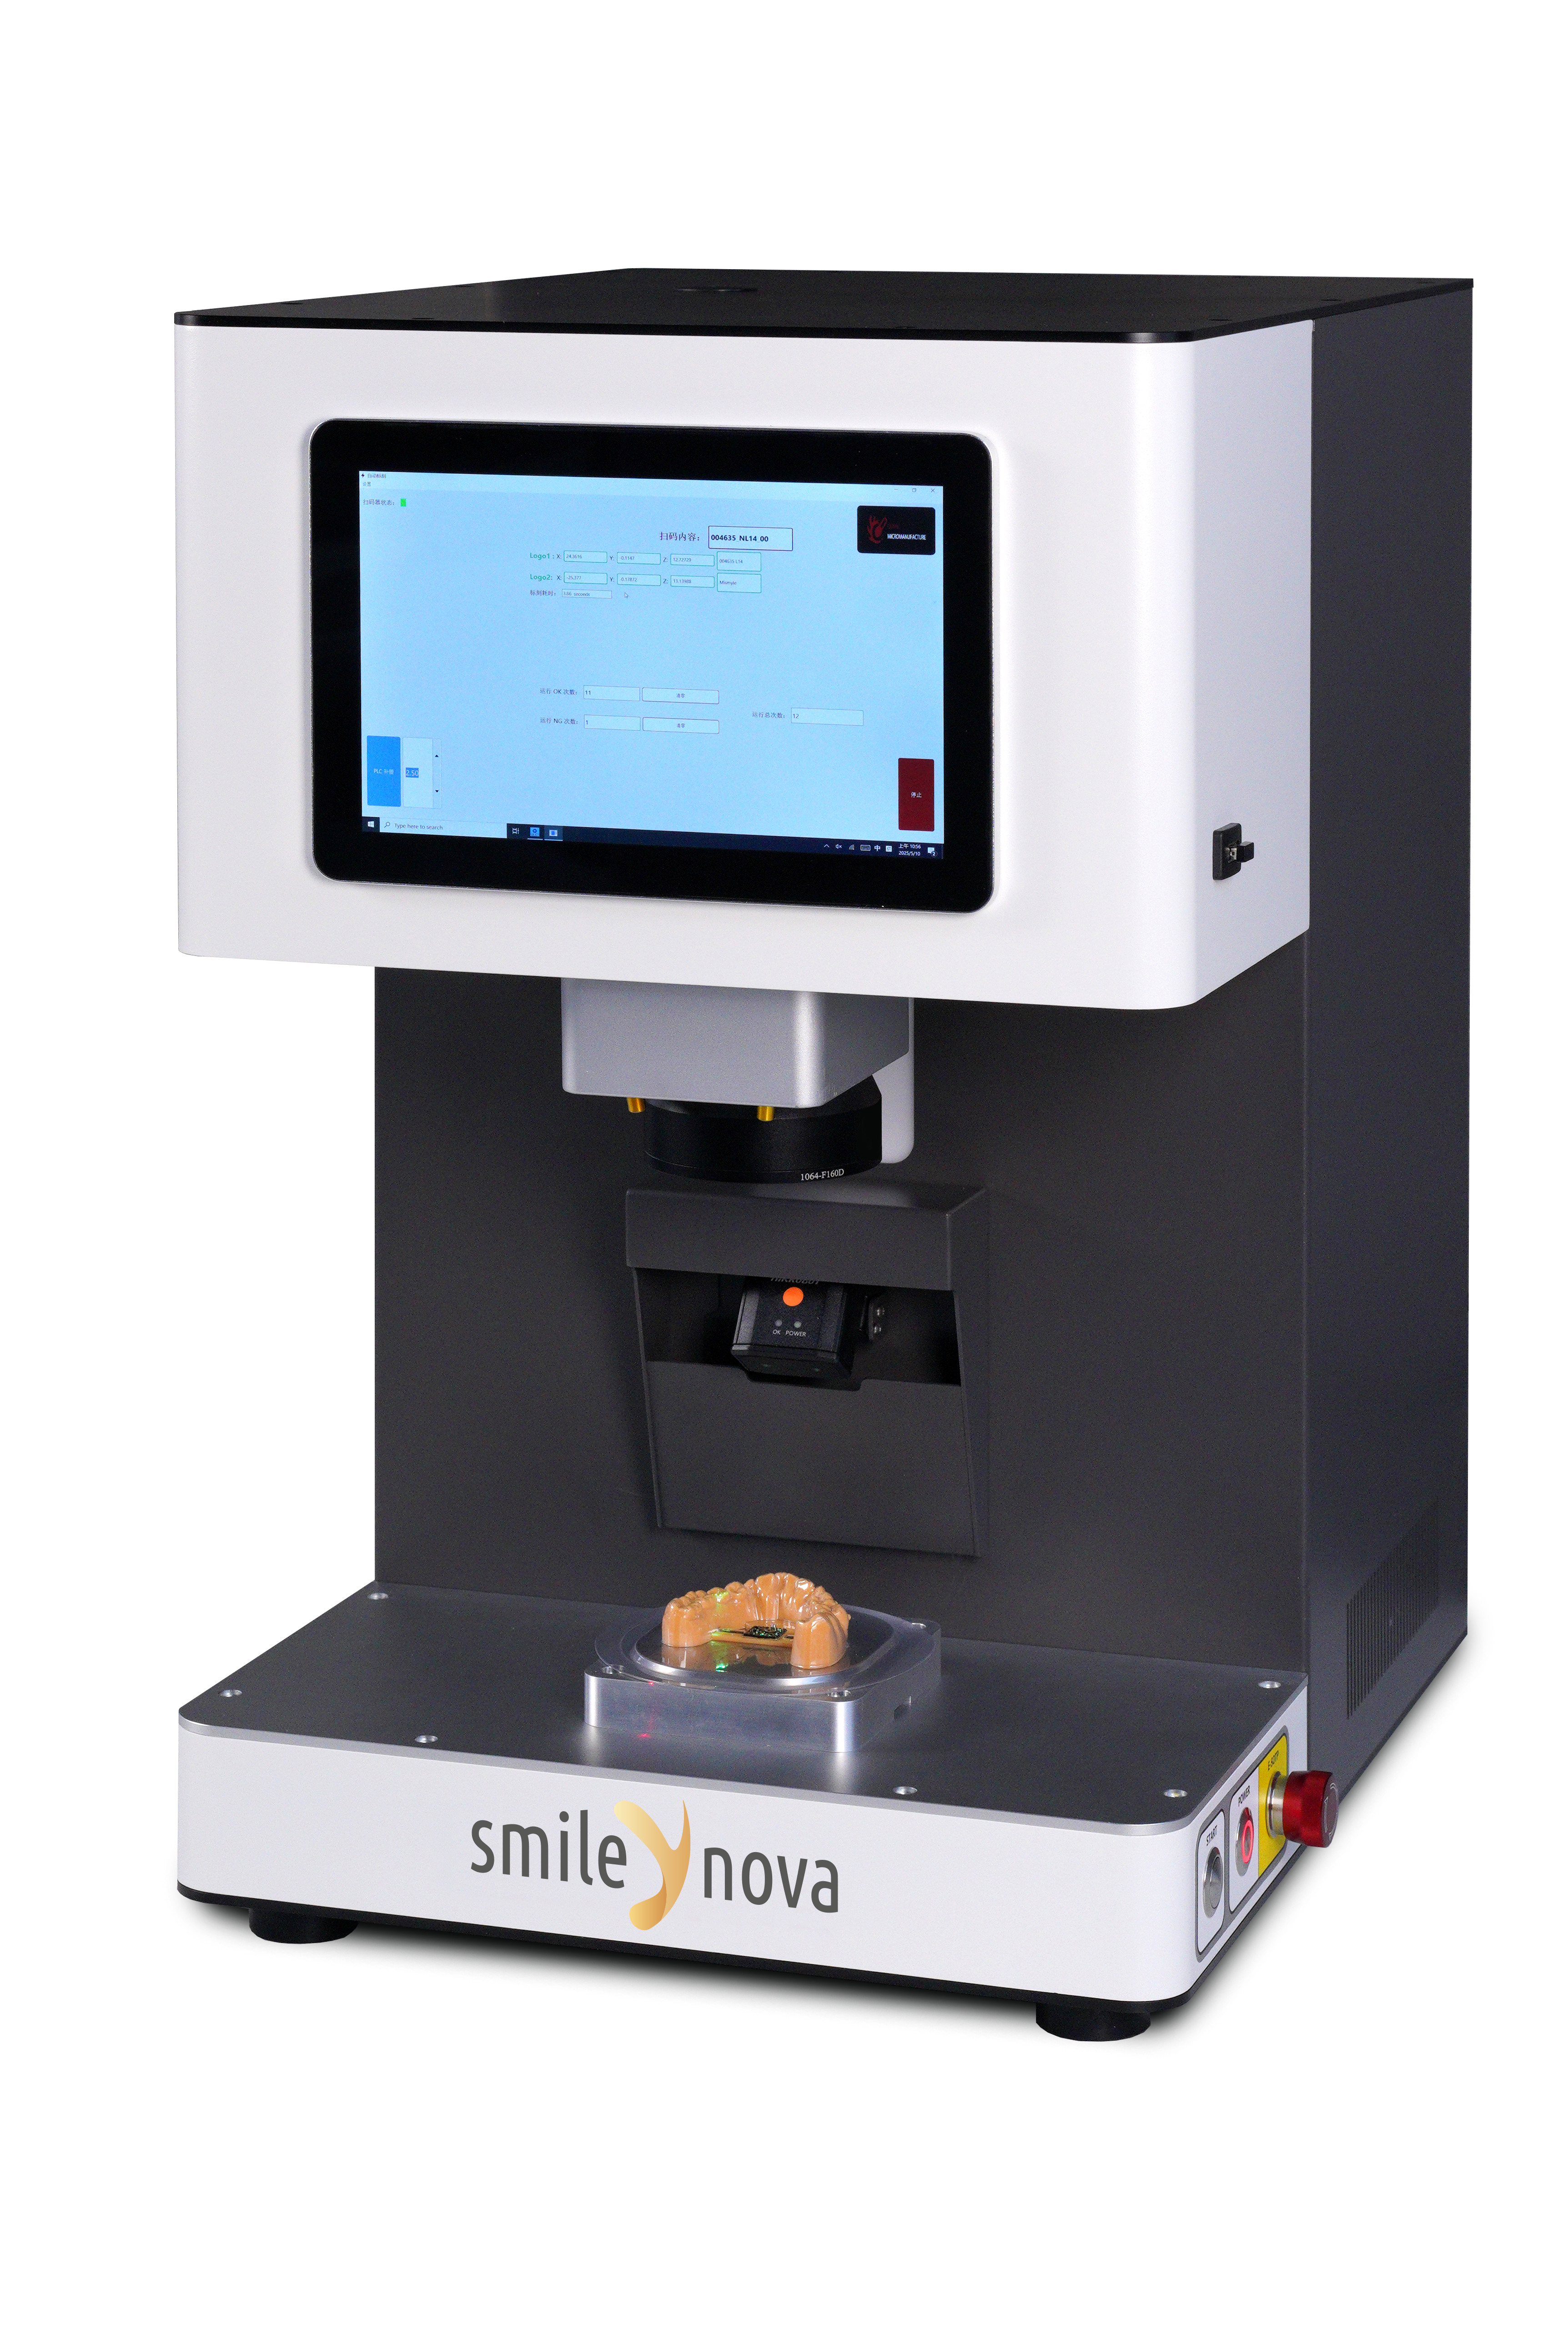
Component | Description | Specifications |
Fiber Laser | Main tool for engraving marks | 30W power, 1060nm wavelength |
High-Speed Scanning Galvanometer | Ensures precise beam movement | Marking speed: ≤70,000 mm/s, Accuracy: ±0.002mm |
Z-Axis Control System | Adjusts focus for optimal engraving | Stepper motor: TST42-48P |
Code Reader | Reads serial numbers and data for marking | Model: MV-ID2013EP |
Industrial Computer | Controls the laser marking process | All-in-One PC with touchscreen |
Automatic Marking Software | Software to handle engraving configurations | Windows-based for clear aligners |
The primary component of a laser marking system is the laser itself. Typically, fiber lasers are used for clear aligner marking due to their durability and ability to produce high-quality marks. These lasers operate at a wavelength of 1060nm, ideal for engraving most materials used in aligners.
● Power: 30W
● Beam Quality: <1.2 (㎡)
● Operational Lifespan: ≥100,000 hours
● Cooling: Air-cooled
These lasers are efficient and require minimal maintenance, ensuring long-term reliability in high-volume production.
The scanning galvanometer is responsible for directing the laser beam with high precision. It adjusts the beam’s position on the X and Y axes, ensuring that marks are placed at the correct locations on each aligner. The system is capable of achieving a marking speed of ≤70,000 mm/s, which significantly enhances production efficiency.
● Marking Range: 110mm × 110mm
● Repeatability Accuracy: ±0.002mm
This precision is crucial in ensuring that each aligner is marked consistently.
The automatic marking software is an essential part of the system. It is responsible for controlling the marking process, including extracting the content to be marked, such as serial numbers or graphics. The software allows for the easy integration of text and graphics marking, ensuring accurate and consistent results for every aligner.
Before starting the marking process, it's essential to prepare the clear aligners. This involves placing them in a holding tray or conveyor that ensures each aligner is correctly positioned for marking. Ensuring the aligners are properly aligned prevents errors during the engraving process.
Once the aligners are in place, the next step is configuring the software. The software extracts necessary information, such as the aligner serial number, and prepares the system to mark this information onto each aligner. The software allows for customizations, such as adding logos or other unique identifiers.
Proper calibration is key to ensuring that the laser marks align correctly. The Z-axis focus alignment must be calibrated to ensure the laser is precisely focused on the surface of the aligner. The high-speed scanning galvanometer also needs to be set up to ensure the correct positioning of marks on each aligner.
Marking Process | Speed | Accuracy | Time per Mark |
Initial Setup | N/A | N/A | N/A |
Laser Alignment | N/A | ±0.002mm | N/A |
Engraving | ≤70,000 mm/s | ±0.002mm | 3.5 seconds per 4 marks |
Quality Control | N/A | Ensures clear, readable markings | N/A |
Once the aligners are positioned and the system is configured, the first step in the marking process is loading the aligners into the system. This can be done manually or through automated conveyor systems, depending on the scale of production.
After the aligners are loaded, the system automatically adjusts the laser’s focus and alignment to ensure that marks are placed precisely. The system uses the scanning galvanometer to direct the laser beam onto the correct positions.
Now, the system begins engraving the marks onto the aligners. The laser beam moves along the X and Y axes, engraving the content with high-speed precision. This process typically takes 3.5 seconds to mark four individual points on each aligner, significantly speeding up production.
Once the marking is complete, the system performs a final quality check to ensure that the markings are clear and precise. If there are any issues, such as misalignment or unclear marks, the system can automatically adjust to fix the problem.
Laser marking systems offer exceptional precision, ensuring that serial numbers and logos are engraved with clarity, even in fine detail. This clarity is essential for patient identification and product traceability.
With marking speeds of up to 70,000 mm/s, the laser marking system significantly increases production efficiency. Each aligner can be marked in just a few seconds, enabling manufacturers to process large volumes with minimal downtime.
Laser marking eliminates the need for consumables like ink or labels, reducing operational costs. Additionally, the system’s low-maintenance nature ensures that it remains reliable over long production runs, offering great value for the investment.
Tip: Laser marking systems are a one-time investment that can provide significant savings over time by eliminating consumables and reducing labor costs.
Inconsistent markings can be caused by improper calibration or poor focus alignment. To resolve this, the system should be recalibrated, ensuring the laser is accurately focused and aligned with the clear aligners.
Misalignment is often due to an issue with the scanning galvanometer or improper tray placement. Recalibrating the X and Y-axis alignment can resolve this issue.
If the system experiences software or hardware malfunctions, troubleshooting steps such as restarting the system or checking the software configuration should be followed. In some cases, hardware components may need to be replaced if they have reached the end of their operational lifespan.
The Laser Marking System for Clear Aligners offers precise, fast, and reliable marking for orthodontic products. SmileyNova’s advanced system ensures high-quality engravings, optimizing production lines. With this technology, manufacturers can enhance efficiency while maintaining consistency in every aligner produced.
A: A Laser Marking System for Clear Aligners uses a laser to engrave precise, permanent markings on clear aligners. It is an efficient and accurate method for adding serial numbers or logos to each aligner.
A: The system uses a fiber laser that focuses on the aligner surface to create marks. It integrates with software to adjust the focus and position, ensuring precise engravings in a matter of seconds.
A: Laser marking ensures high precision, speed, and customization. It’s cost-effective and doesn’t rely on consumables, making it ideal for large-scale clear aligner production.
A: Yes, the system is designed for high-speed engraving, marking multiple aligners in seconds. Its automation helps increase production efficiency and reduces manual labor.
A: The system offers enhanced precision, increased production speed, and reliable results. It eliminates the need for consumables like ink, making it a more sustainable and cost-effective option.
A: If you face issues like misalignment or unclear markings, check the system's calibration and software settings. Ensuring proper focus and laser alignment can solve most problems.


